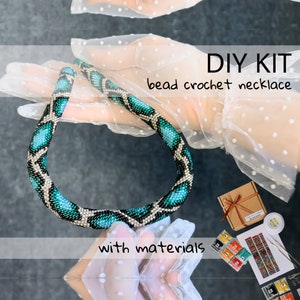
Please excuse this long writeup - it has important info for buyers!
Crochet Bead Ropes can be great fun to make, but trying to manage the first few rows can be very difficult, especially when first learning the technique. It can be so frustrating, that many people just give up on it. So I developed a tool, the patent pending Crochet Bead Rope Starter Jig, specifically to help stabilize and control the first few rows, making it so much easier to start tubular bead crochet ropes.
I have been selling the StudioDax Bead Crochet Jig for several years now, and I’m often asked if I sell just the tutorial. People mistakenly think that the Jig is the same as a “Knitting Nancy” (it’s not… they are very different, even though they look similar), or they want to make their own jig, to save some money. I have been very reluctant to sell the tutorial as a standalone without the jig, because it is very easy to make the jig slightly wrong, or not strong enough, which could impact the overall results.
But I understand that the cost of shipping (especially internationally) can make people reluctant, and I’ve had some folks email me that they are very crafty, and want to make the jig themselves. So I decided to write up the directions for making the jig in two ways, so that hopefully anyone can make one - Version 1 is a wire wrap jig, Version 2 is a more robust wooden jig.
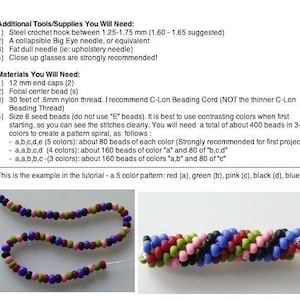
PLEASE REFER TO PHOTO 2 FOR A LIST OF ITEMS NEEDED TO MAKE THE JIG, AND PHOTO 3 OR A COMPLETE LIST OF SUPPLIES AND MATERIALS FOR BEADED ROPES
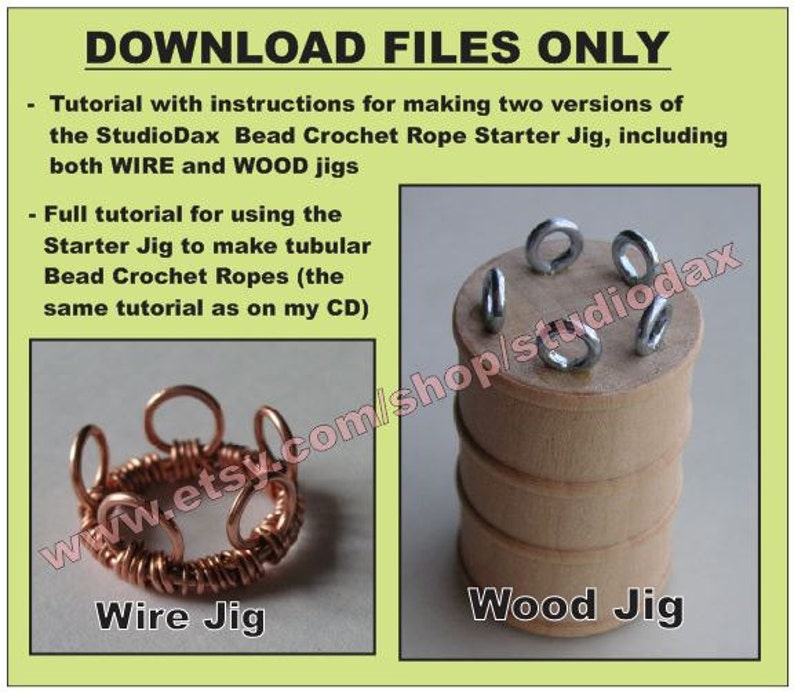
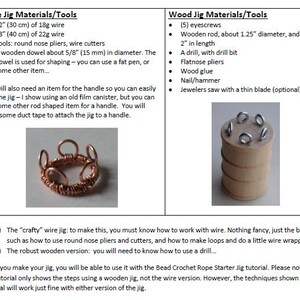
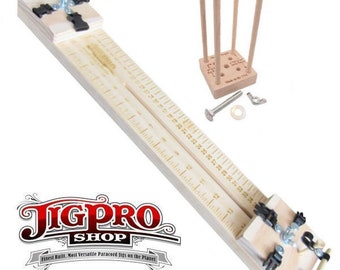
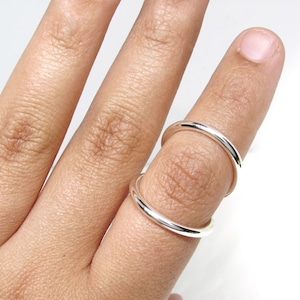
Photo 1 - the "make it yourself" jig in 2 versions: wire, and wood
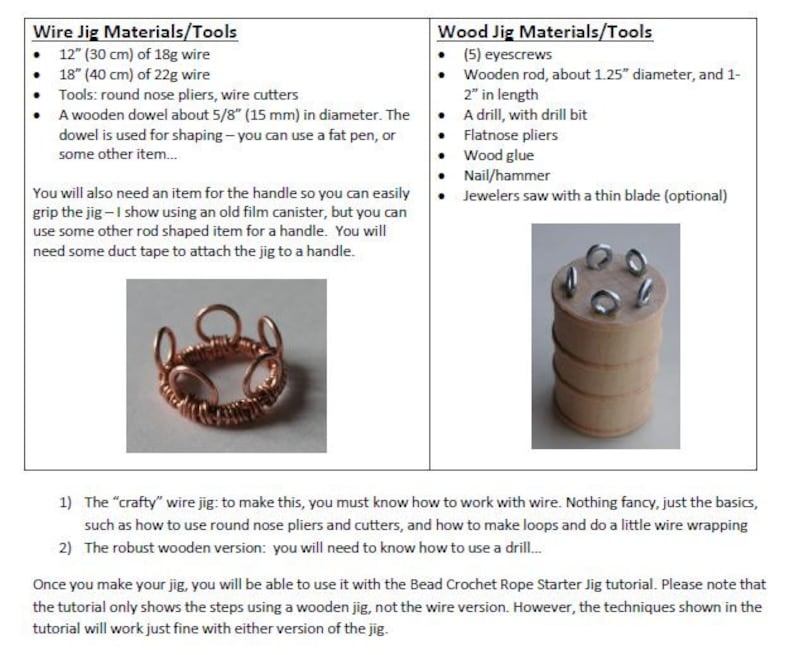
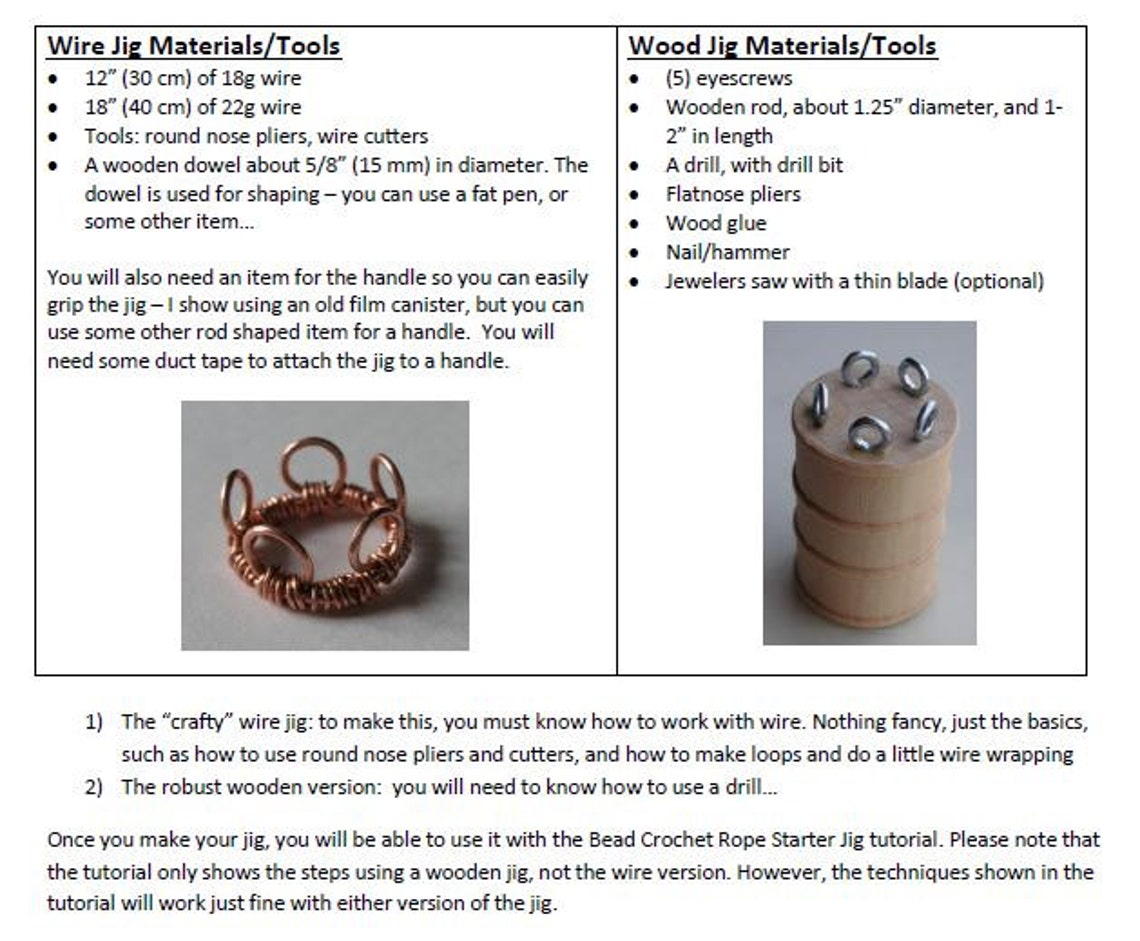
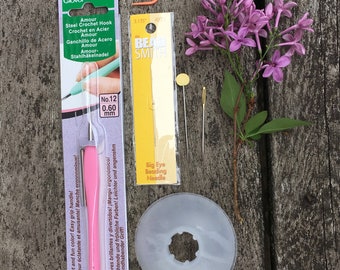
Photo 2 - materials and supplies needed for making a jig
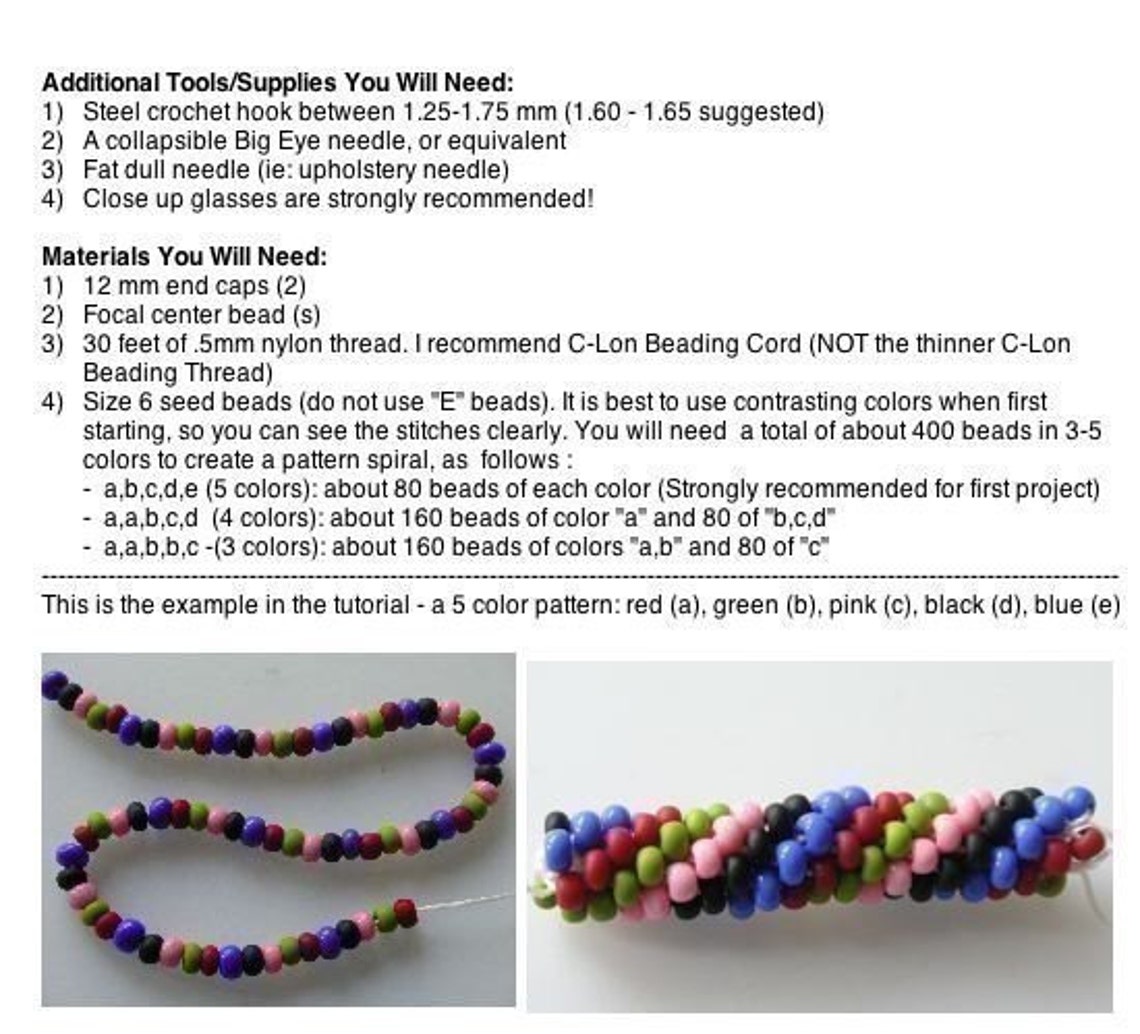
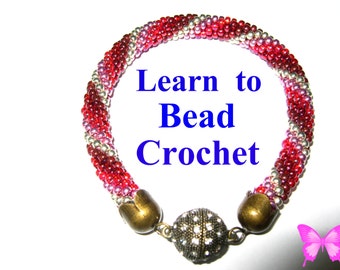
Photo 3 - materials and supplies needed for bead crochet project
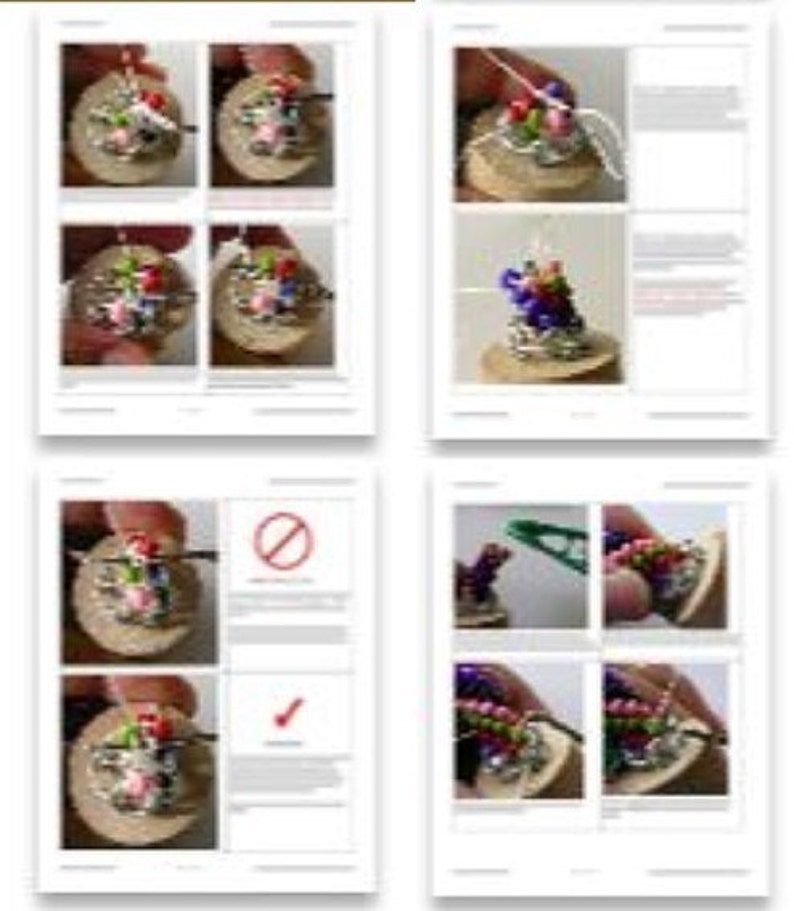
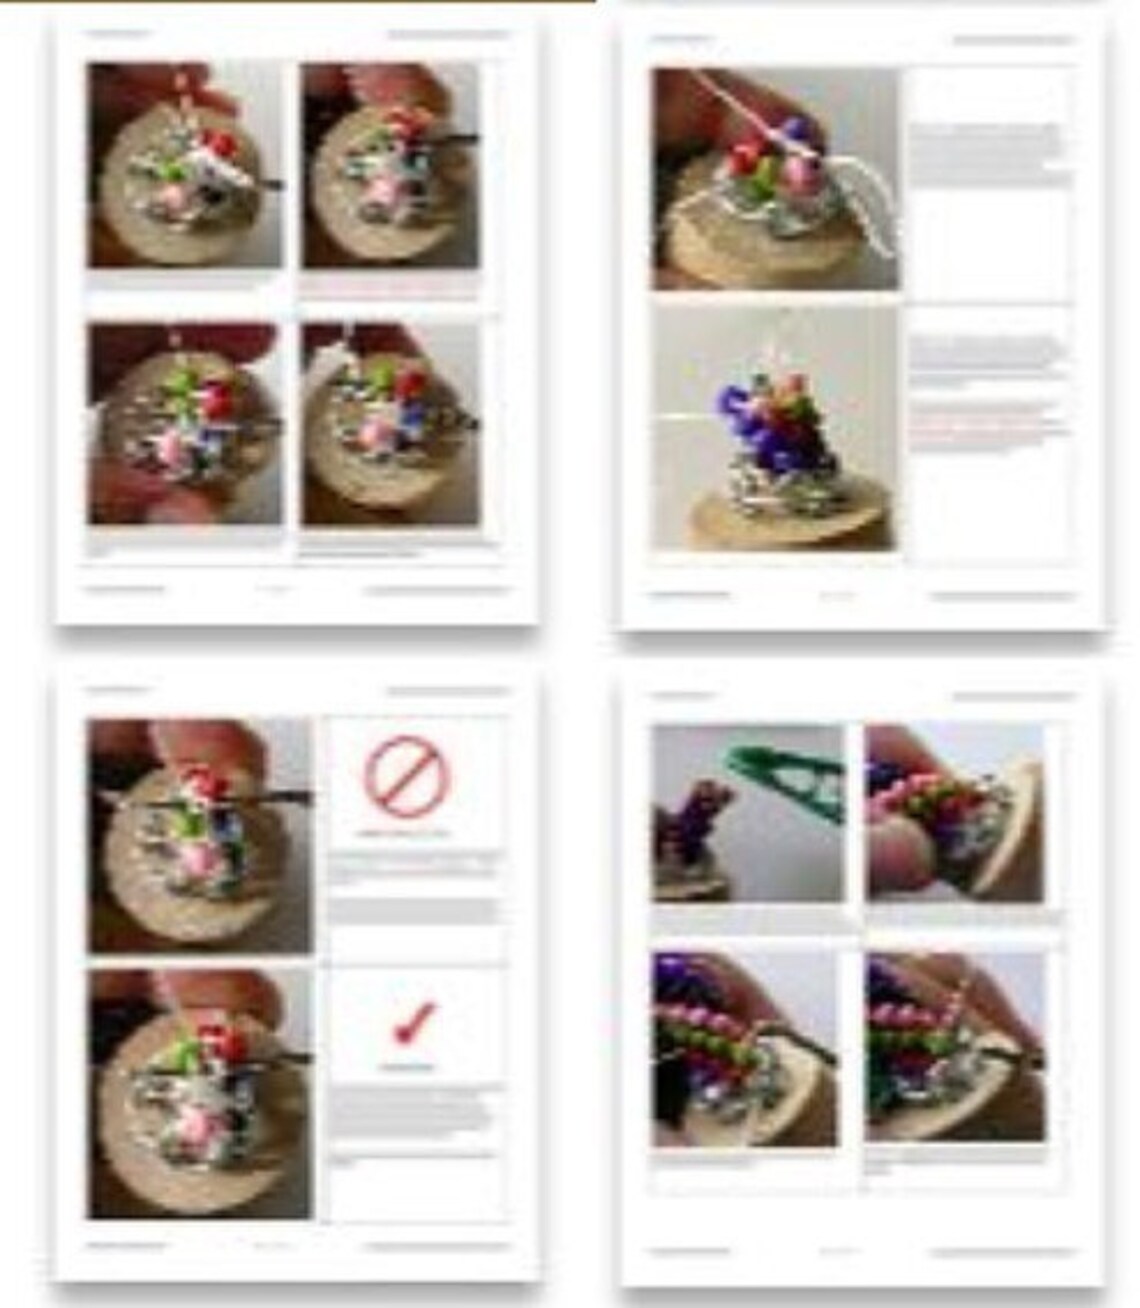
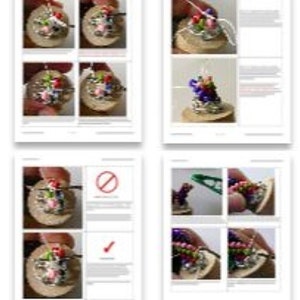
Photo 4 - tutorial (thumb nail of 4 pages shown)
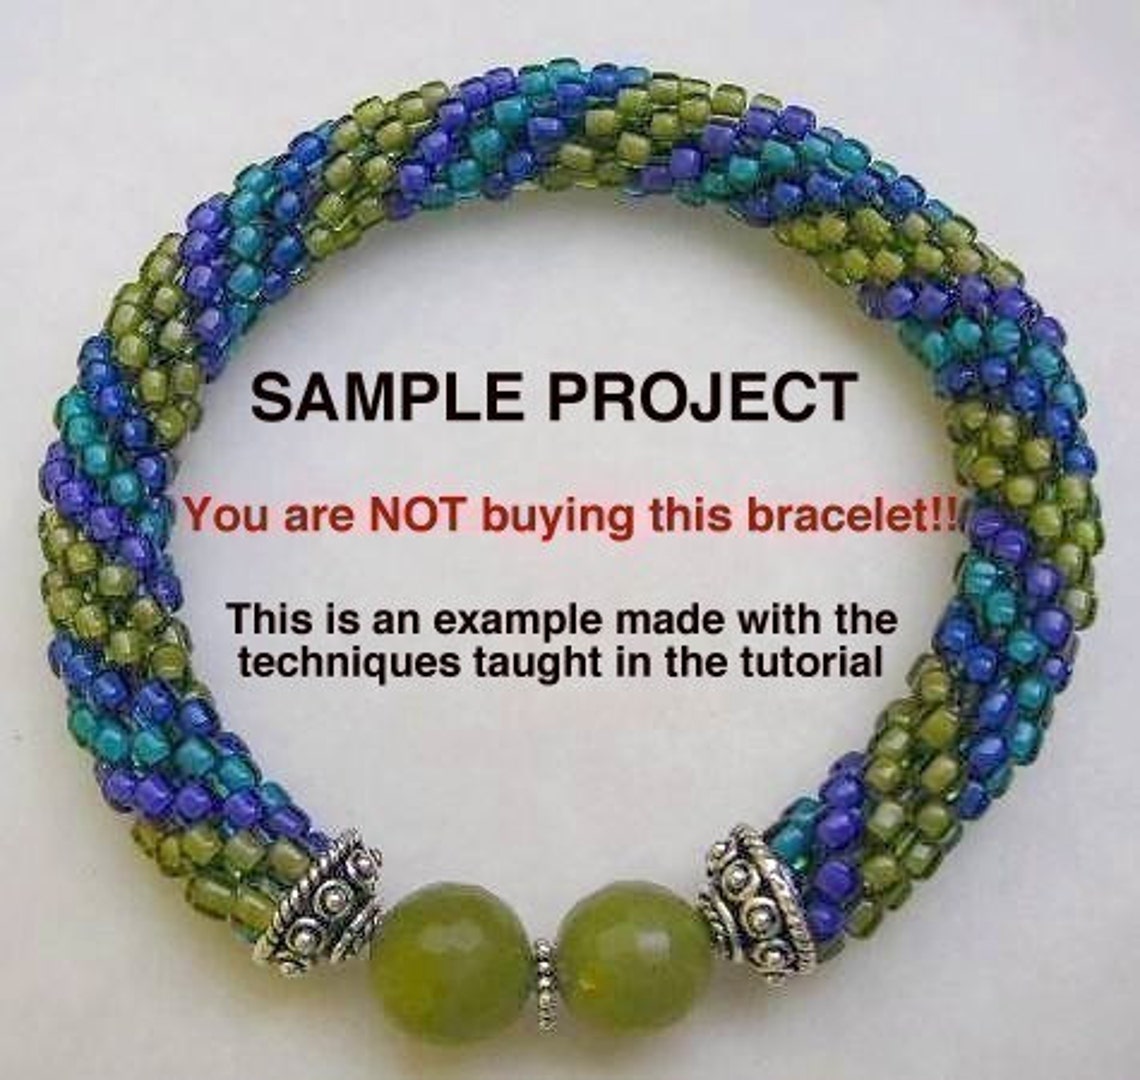
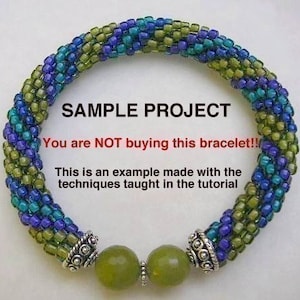
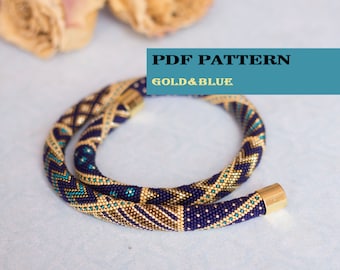
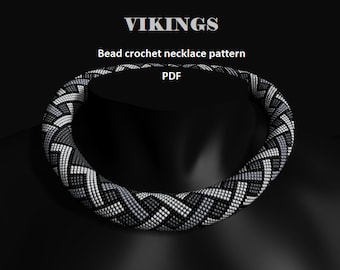
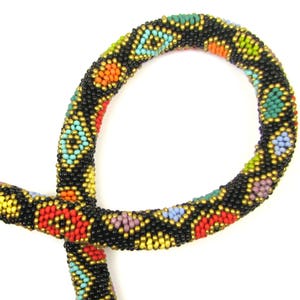
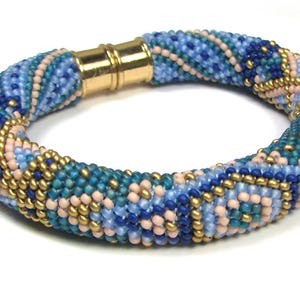
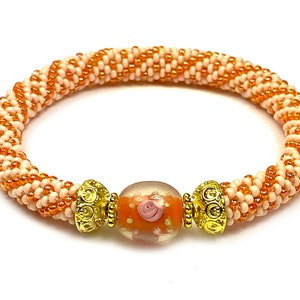
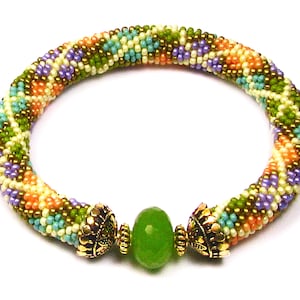
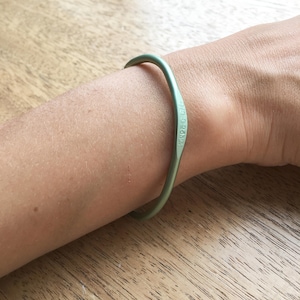
Photo 5 - example of finished project (NOT FOR SALE)
You should know basic wire working techniques to make a wire jig, or know how to use a drill to make the wooden jig. Once you make your jig, you will be able to use it with the Bead Crochet Rope Starter Jig tutorial (included with this download). Please note that the tutorial only shows the steps using a wooden jig, not the wire version. However, the techniques shown in the tutorial will work just fine with either version of the jig.
I have been asked if it is possible to make jigs for larger diameter ropes... the answer is yes, you can make a wire jig with more loops. So I added a page with photos showing what the steps look like when making a 10 loop wire jig, and even did a few rows on it, so you can see how it looks as the rope is started. However, I STRONGLY suggest that you make a smaller wire jig first, so you can get familiar with the techniques... once you have success with a smaller rope, than you are ready to make a larger one if you want.
If you have previously purchased this tutorial, I am happy to email you the one page update at no cost, please convo me with purchase info....
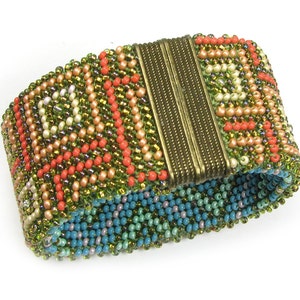
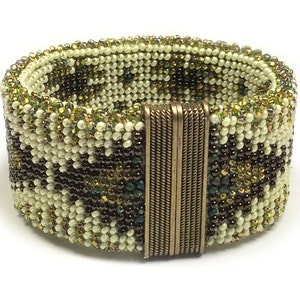
Once you make the jig, the tutorial provides detailed info and photos showing you how to use it. The main focus is on how to get started making Crochet Bead Ropes using the Jig, however I also provide the steps and photos for the basic crocheting technique, how to add more beads/thread, and how to complete the bangle using a center focal section... Please note that the text and the photos remain the intellectual property of StudioDax - do not distribute or make copies.
The directions and photos in the tutorial refer to right handed crocheting, but the tool is "non-directional" - you just use it clockwise (there is a comment on the front page about this). Many customers have followed the steps left handed, and it works fine.
***NEW*** I have created a tutorial with reversed photos, for left handed folks! I can email it to you if you let me know you need it!
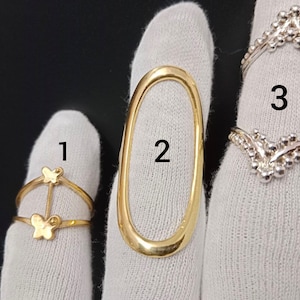
Several folks have asked me what size beads can be used with the jig... the materials list is for size 6/0 beads, but I regularly make bracelets with size 8/0 also. And for all those folks who like the tiny beads... YES - you can use size 11/0 beads with the jig! You just need a lot more beads, thinner thread, a smaller crochet hook, and a lot more patience!